Fruit Desserts
3-Ingredient Homemade Strawberry Fruit Roll-Ups
In this recipe
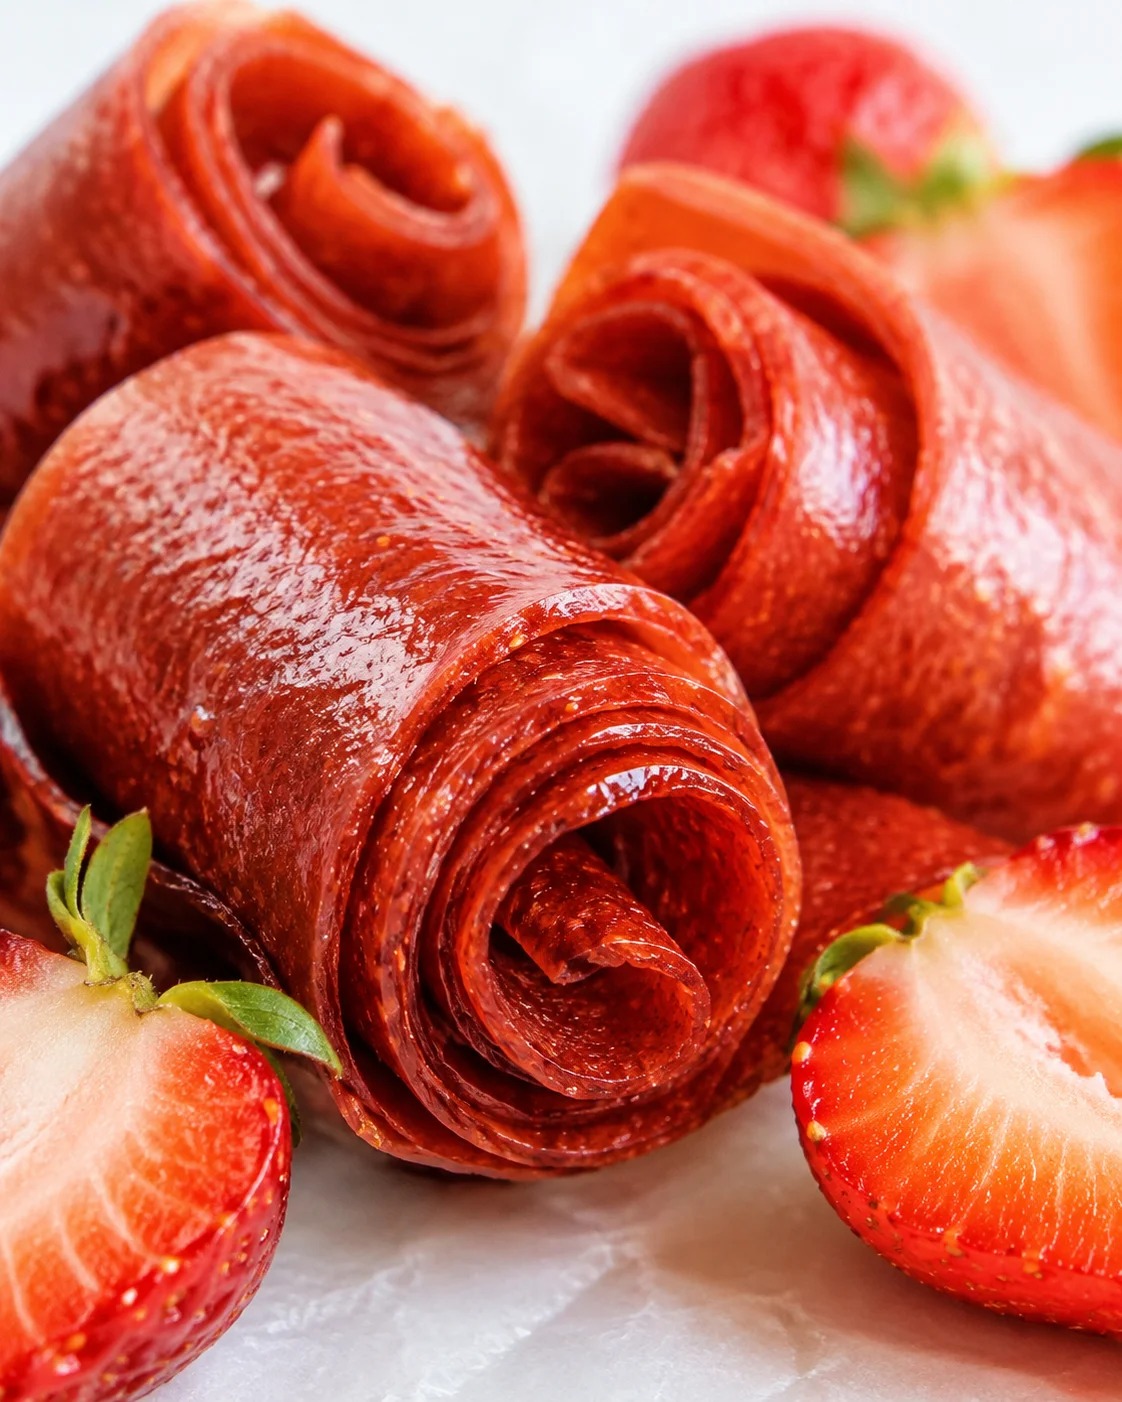 These 3-Ingredient Homemade Strawberry Fruit Roll-Ups are an easy, healthy, and delicious way to make your very own fruit leather… no fancy tools needed!
Raise your hand if you grew up loving fruit roll-ups—and let’s be honest, maybe you still love them! They were definitely one of my favorite treats as a kid. Now, my own kids are obsessed, and every time we’re at the grocery store, they ask for these sweet, fruity snacks.
Even though we love these treats, I started paying attention to the nutrition labels and realized store-bought fruit roll-ups pack in a ton of sugar. That’s when I decided to try making a healthier version myself—which, spoiler alert, turned out pretty awesome!
The first thing I did was hunt for a dehydrator online, hoping to snag something affordable. No luck there! But after some digging around on Pinterest, I discovered you can actually use your oven to dehydrate fruit. Yes, your regular kitchen oven! How cool is that?
What Makes Them Great
These homemade strawberry fruit roll ups are wholesome, kid-approved, and straightforward. Using just three real-food ingredients, they steer clear of artificial colors and preservatives. Plus, you get to control how sweet they are. You don’t need a dehydrator—your oven works perfectly on low heat—making these fruit roll-ups a simple weekend project that delivers healthy, portable snacks the whole family will love. For another easy, make-ahead snack with simple ingredients, try our Easy No Bake Granola Bars.
- Only 3 simple ingredients: strawberries, honey, lemon juice
- No special appliances or dehydrators needed
- Sweetness and flavors customizable to your liking
- Perfect for using fresh or frozen fruit
What You’ll Need
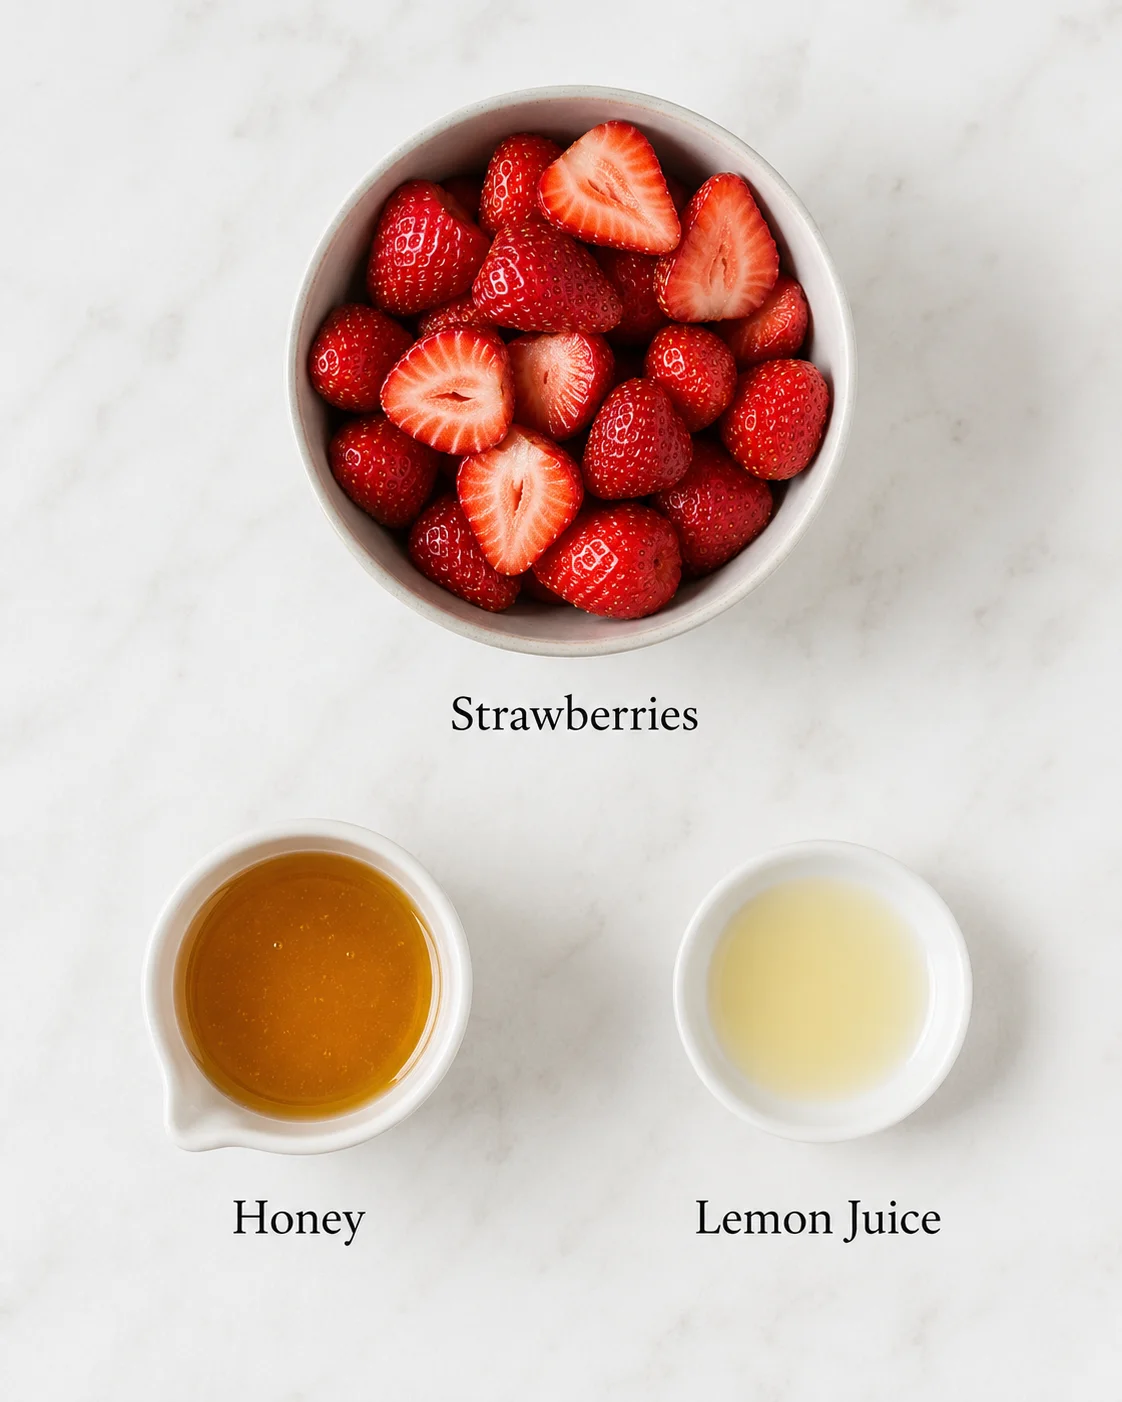
- 3 cups strawberries, thawed if frozen, or fresh
- 3 Tbsp honey (use your favorite sweetener if you’d like)
- 2 Tbsp fresh lemon juice
How to Make Them
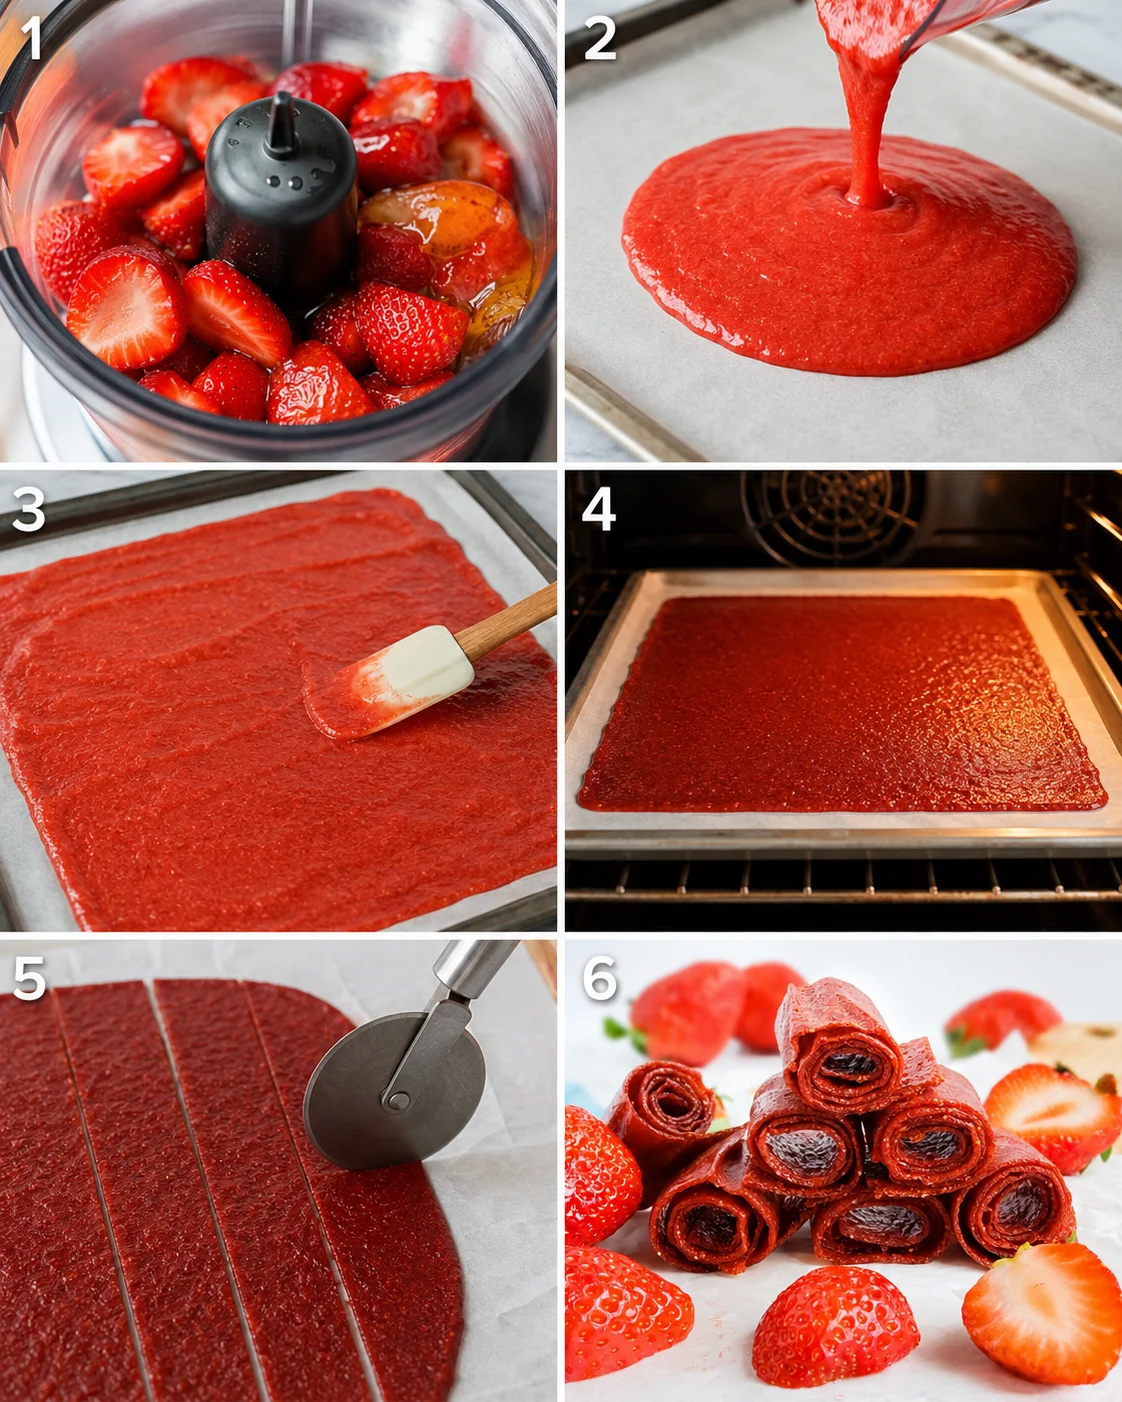
- Thaw frozen strawberries completely if using frozen.
- Preheat oven to its lowest setting (about 140–170°F) and line a rimmed sheet pan with parchment paper.
- Place strawberries, honey, and lemon juice in a blender or food processor and blend until smooth and creamy.
- Pour the puree onto the parchment-lined pan and spread evenly with a spoon or spatula to about 1/8–1/4 inch thickness, avoiding holes.
-
Place the pan in the oven and dry at the lowest temperature for 4–6 hours, until the center is no longer sticky.
- If the edges become too crisp, rub them lightly with a little water to soften.
- Remove the pan and let the fruit leather cool completely.
- Peel the fruit leather off the parchment (or leave the parchment on if preferred).
- Trim the edges and cut the fruit leather into 1-inch wide strips using clean scissors or a pizza cutter.
Tips for Perfect Texture
- Spread your fruit puree evenly to about 1/8 to 1/4 inch thick. Consistent thickness means it dries nicely without any holes.
- Always use your oven’s lowest temperature setting, around 140–170°F. The drying time usually takes 4 to 6 hours depending on your oven.
- Check if the roll ups are done by touching the center—it should no longer feel sticky or tacky. If the edges crisp up too much, simply rub them with a bit of water to soften.
- Let the fruit leather cool fully before peeling off the parchment paper. If you like, you can leave the parchment on—it looks authentic and helps with clean removal.
- Cut your roll ups with clean scissors or a pizza cutter for perfect strips and tidy edges.
Flavor Swaps and Add-Ins
- Berry mix: swap out some strawberries for raspberries or blueberries to create a berry blend.
- Tropical twist: try using mango or peach puree instead of strawberries for a tropical flavor.
- Sweetener alternatives: replace honey with maple syrup or agave nectar if you want a vegan option.
- Flavor boosters: a splash of vanilla extract or a sprinkle of cinnamon adds lovely depth to the fruit flavor.
How to Store and Freeze
Store your strawberry fruit roll ups in an airtight container in the fridge. They’ll stay fresh for up to two weeks. To keep them from getting sticky, tuck in a paper towel to absorb moisture.
For longer storage, roll each strip in parchment paper and freeze inside a sealed container for up to 3 months. When ready to eat, just thaw them at room temperature for a few minutes. If you’re building a freezer stash of treats, you might also like Apple Cinnamon Cookies with Maple Glaze.
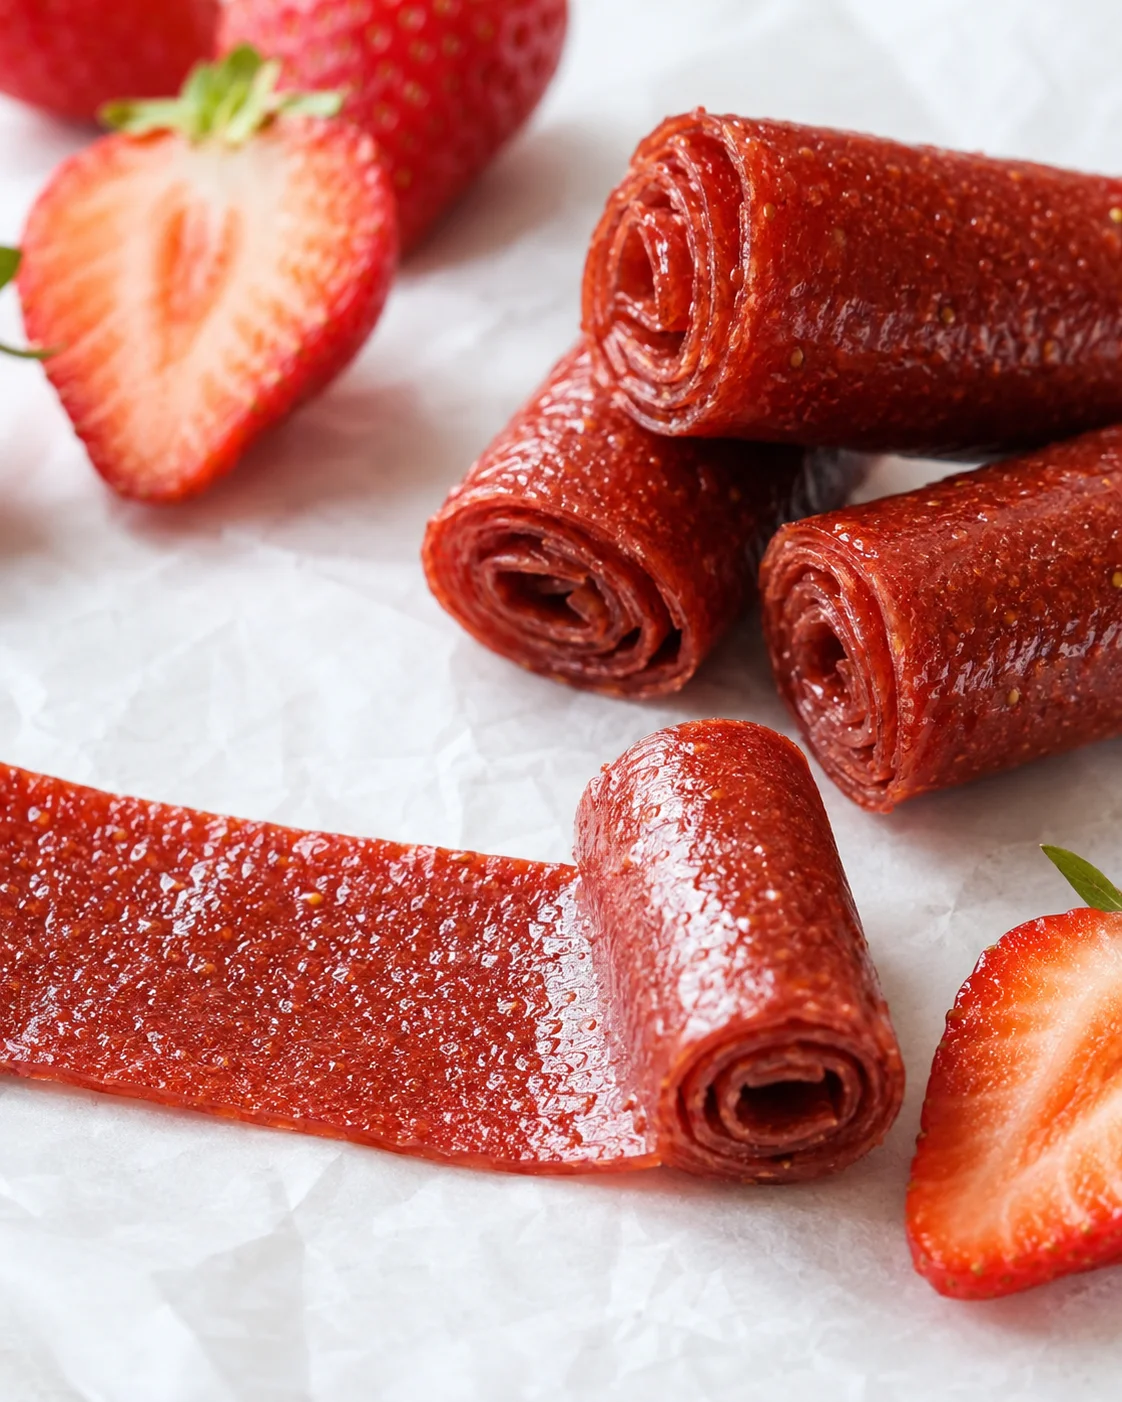
Answers to Common Questions
- Can I use frozen strawberries? Yes! Just be sure to thaw them completely before blending so you get a smooth puree.
- Do I need a dehydrator? Not at all. Your regular oven on its lowest temp works perfectly as a dehydrator.
- How do I know when they’re done? The middle should feel dry and not sticky or tacky when touched.
- Can I swap out the sweetener? Absolutely! Honey can be swapped with maple syrup, agave, or your favorite sweetener.
- Will these keep at room temperature? Unlike store-bought, homemade fruit roll ups are best kept refrigerated and can last about two weeks there. Freezing extends their shelf life even more. For another easy make-ahead treat, try Easy Pumpkin Pie Twists.
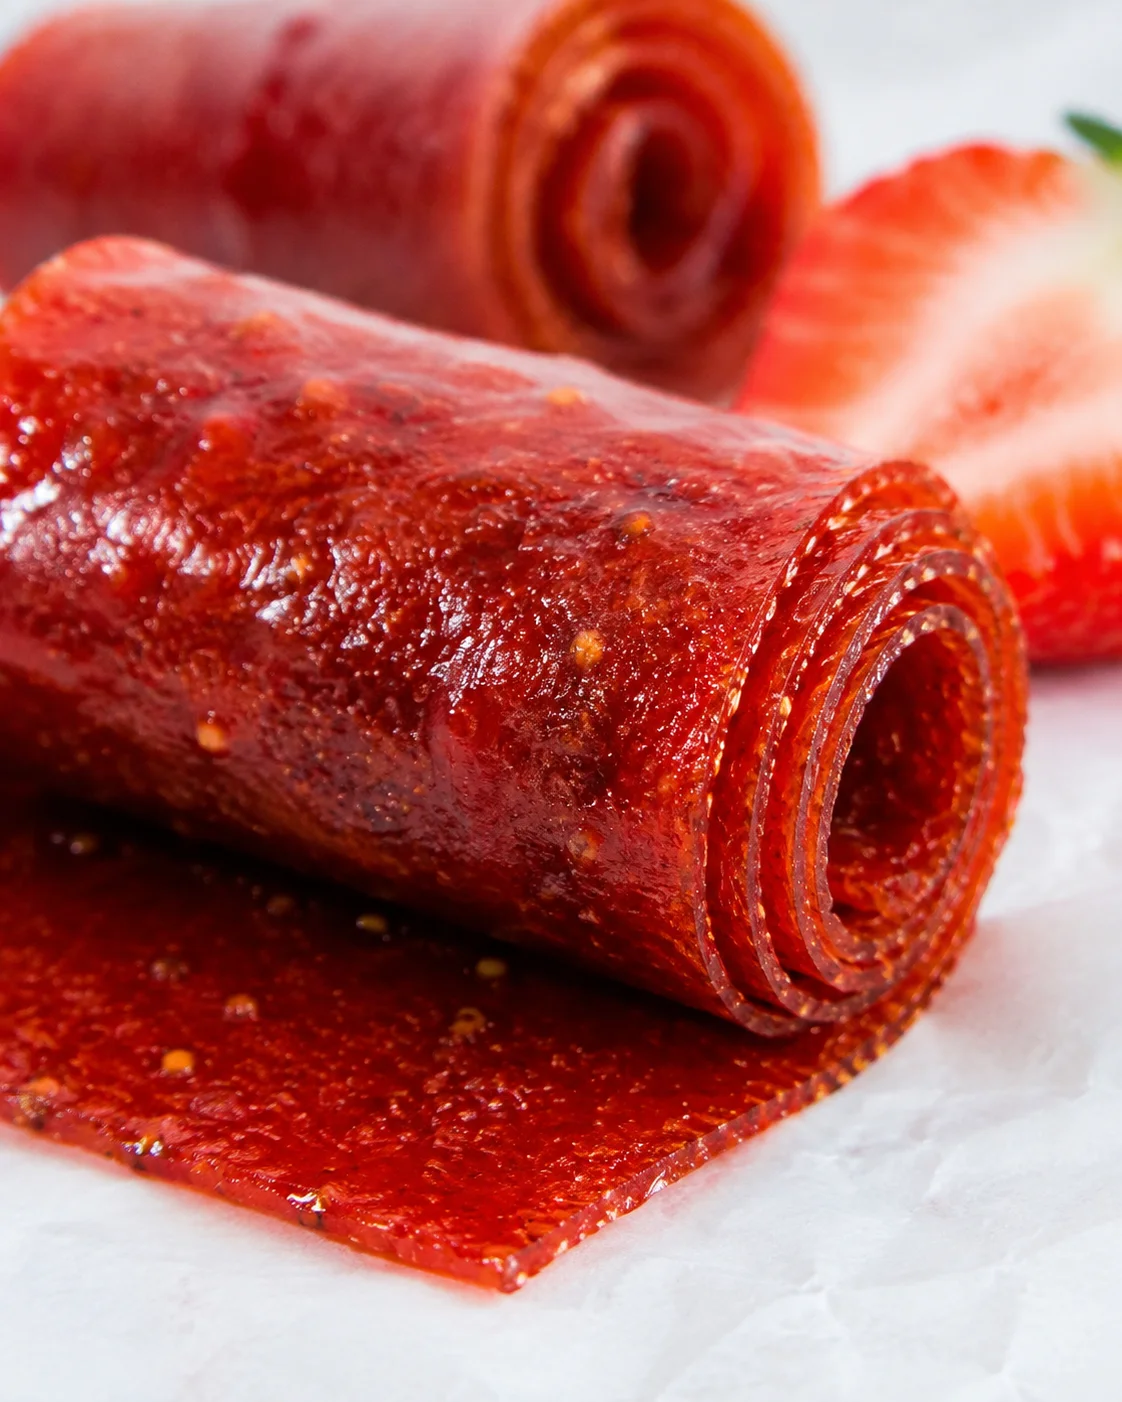
Easy, healthy strawberry fruit roll-ups made with just strawberries, honey, and lemon juice using an oven drying method. Perfect homemade fruit leather with no special tools required.
- Prep Time: 15 minutes
- Cook Time: 4-6 hours
- Total Time: 4 hours 15 minutes to 6 hours 15 minutes
- Yield: About 12-15 strips (1-inch wide) 1x
- Category: Snack
Ingredients
- 3 cups strawberries, thawed if frozen, or fresh
- 3 Tbsp honey (use your favorite sweetener as alternative)
- 2 Tbsp fresh lemon juice
Instructions
- Thaw frozen strawberries completely if using frozen.
- Preheat oven to its lowest setting (about 140–170°F) and line a rimmed sheet pan with parchment paper.
- Place strawberries, honey, and lemon juice in a blender or food processor and blend until smooth and creamy.
- Pour the puree onto the parchment-lined pan and spread evenly with a spoon or spatula to about 1/8–1/4 inch thickness, avoiding holes.
- Place the pan in the oven and dry at the lowest temperature for 4–6 hours, until the center is no longer sticky.
- If the edges become too crisp, rub them lightly with a little water to soften.
- Remove the pan and let the fruit leather cool completely.
- Peel the fruit leather off the parchment (or leave the parchment on if preferred).
- Trim the edges and cut the fruit leather into 1-inch wide strips using clean scissors or a pizza cutter.
Notes
Spread puree evenly to ensure consistent drying and avoid holes., Use oven’s lowest temperature setting (140–170°F) and expect about 4 to 6 hours drying time., Check dryness by touching center; it should not feel sticky or tacky., Rubbing crisp edges with water softens them if needed., Let fruit leather cool fully before peeling off parchment for easy removal., Store in airtight container in fridge up to two weeks, placing a paper towel inside to absorb moisture., Freeze rolled strips wrapped in parchment inside a sealed container for up to 3 months., Sweetness is customizable; honey can be substituted with maple syrup, agave, or other sweeteners., Flavor variations include berry mixes, tropical fruits, and additions like vanilla extract or cinnamon.
Nutrition
- Serving Size: 1 strip
- Calories: Approximately 40-50 calories per strip (depending on exact portion and sweetener)
- Fat: 0g per serving
- Carbohydrates: Approximately 10-12g per serving (from fruit and honey)
- Protein: Less than 1g per serving
Keep exploring
More from the recipe collection
Fruit Desserts
Healthy Fruit Pizza with a Lemony Greek Yogurt Filling
Fruit Desserts
Healthy Apple Crisp Recipe with Oats
Fruit Desserts
Old-Fashioned Apple Crisp with Oats