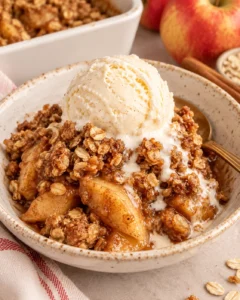
Healthy Apple Crisp Recipe with Oats

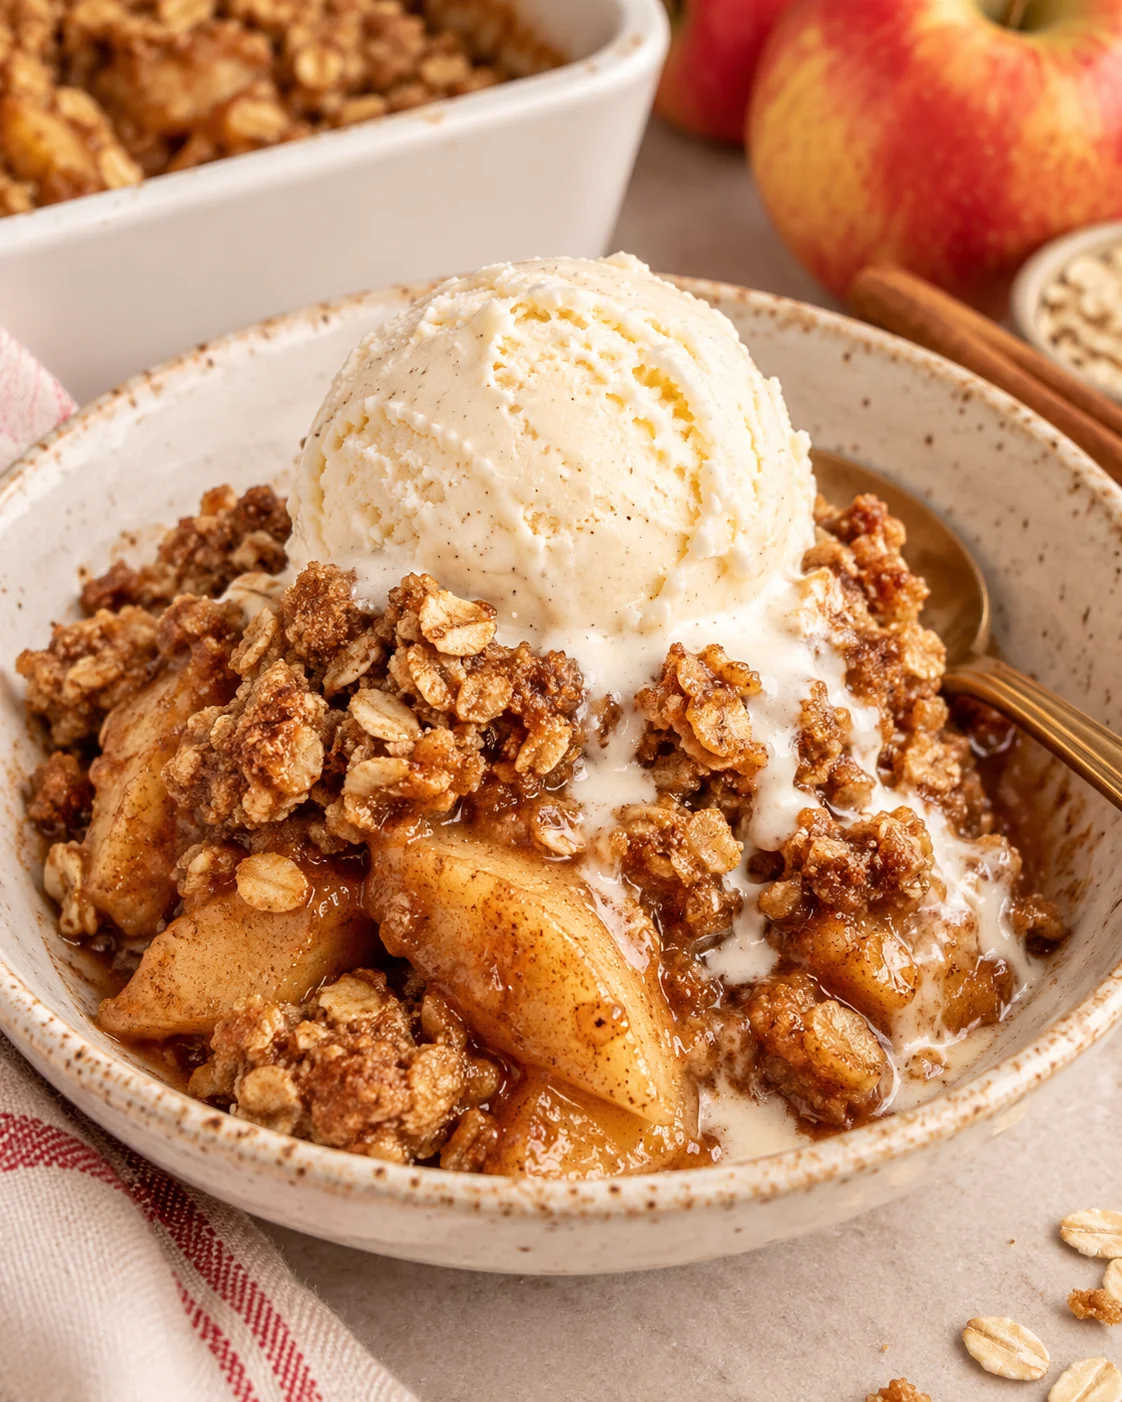
This healthy apple crisp recipe with oats is a naturally refined sugar free and gluten free fall dessert with a warm, cinnamon-scented apple filling and a tender, crumbly topping. It is made with simple ingredients, and the hands-on preparation takes only 10 minutes, making it a practical choice for an autumn dessert or a treat after apple picking. If you have more apples to use, healthy apple recipes are another useful place to look for fall ideas.
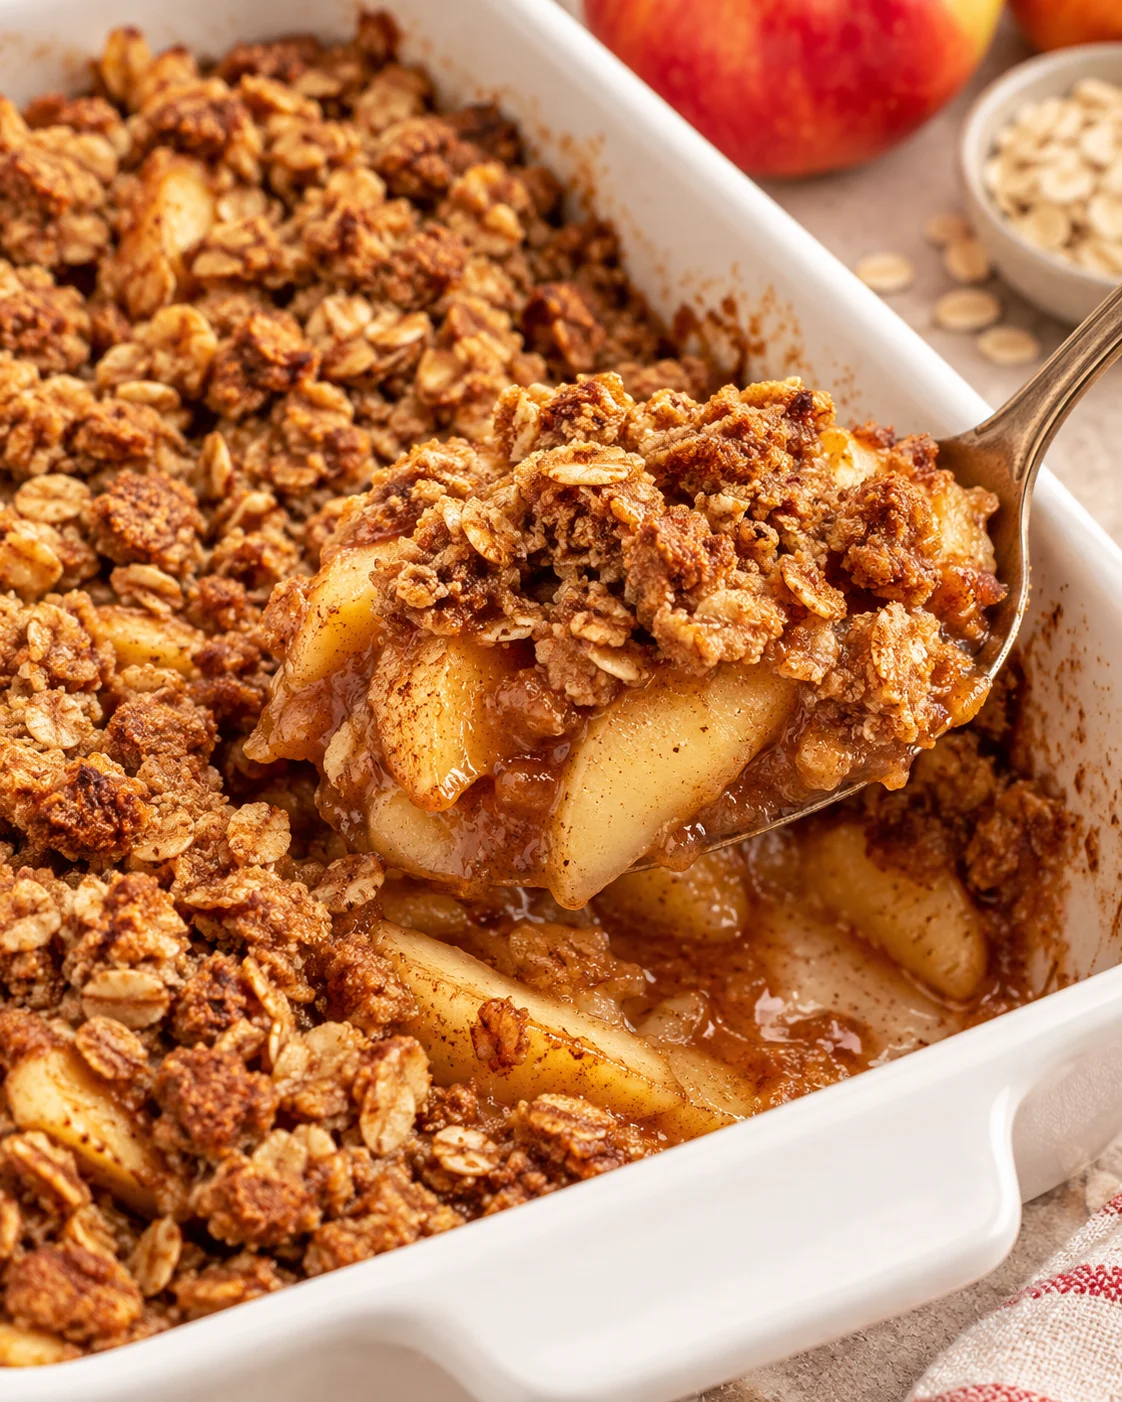
The apples cook down beneath an oat-and-oat-flour crumble until the fruit is soft and the topping is slightly crispy. A short rest after baking matters here: as the crisp cools, some of the apple liquid reabsorbs into the fruit mixture and thickens it. That gives you a dessert that is easier to spoon and serve while it is still pleasantly warm.
Originally shared in 2018, this recipe has since been updated. It makes 6 servings in an 8×8 baking dish, with a 350°F oven, 10 minutes of prep time, 40 minutes of cook time, and 50 minutes total time.
Why You Will Love This Recipe
This is the kind of dessert that brings together the best parts of fall baking without requiring a complicated pastry project. There is no crust to roll or chill. Instead, peeled Honeycrisp apples are tossed with coconut sugar, cinnamon, and ginger, then covered with a topping that comes together in one bowl. Once the topping is mixed, the oven does the rest of the work.
The flavor is balanced rather than one-note sweet. Honeycrisp apples bring a little sweetness and a little tartness, while cinnamon, ginger, vanilla, and sea salt give the crisp its cozy dessert character. Coconut sugar is used in both the topping and the apples, and the recipe is described as naturally refined sugar free. The result is an apple dessert that still tastes generous and comforting.
Texture is another reason this recipe works so well. Old-fashioned rolled oats keep the crumble substantial, and oat flour helps hold the melted-butter mixture together. The topping becomes slightly crisp in the oven, while the apples underneath become tender. Letting the baking dish stand for about 15 minutes helps the filling thicken instead of running immediately when you serve it.
The recipe can also fit several tables. Use certified gluten-free oats and certified gluten-free oat flour to ensure the crisp is naturally gluten-free. Use vegan butter or coconut oil in place of butter to make it vegan and dairy-free. Serve it warm with vanilla ice cream, whipped cream, or vanilla Greek yogurt, depending on what you want alongside the fruit.
Ingredients
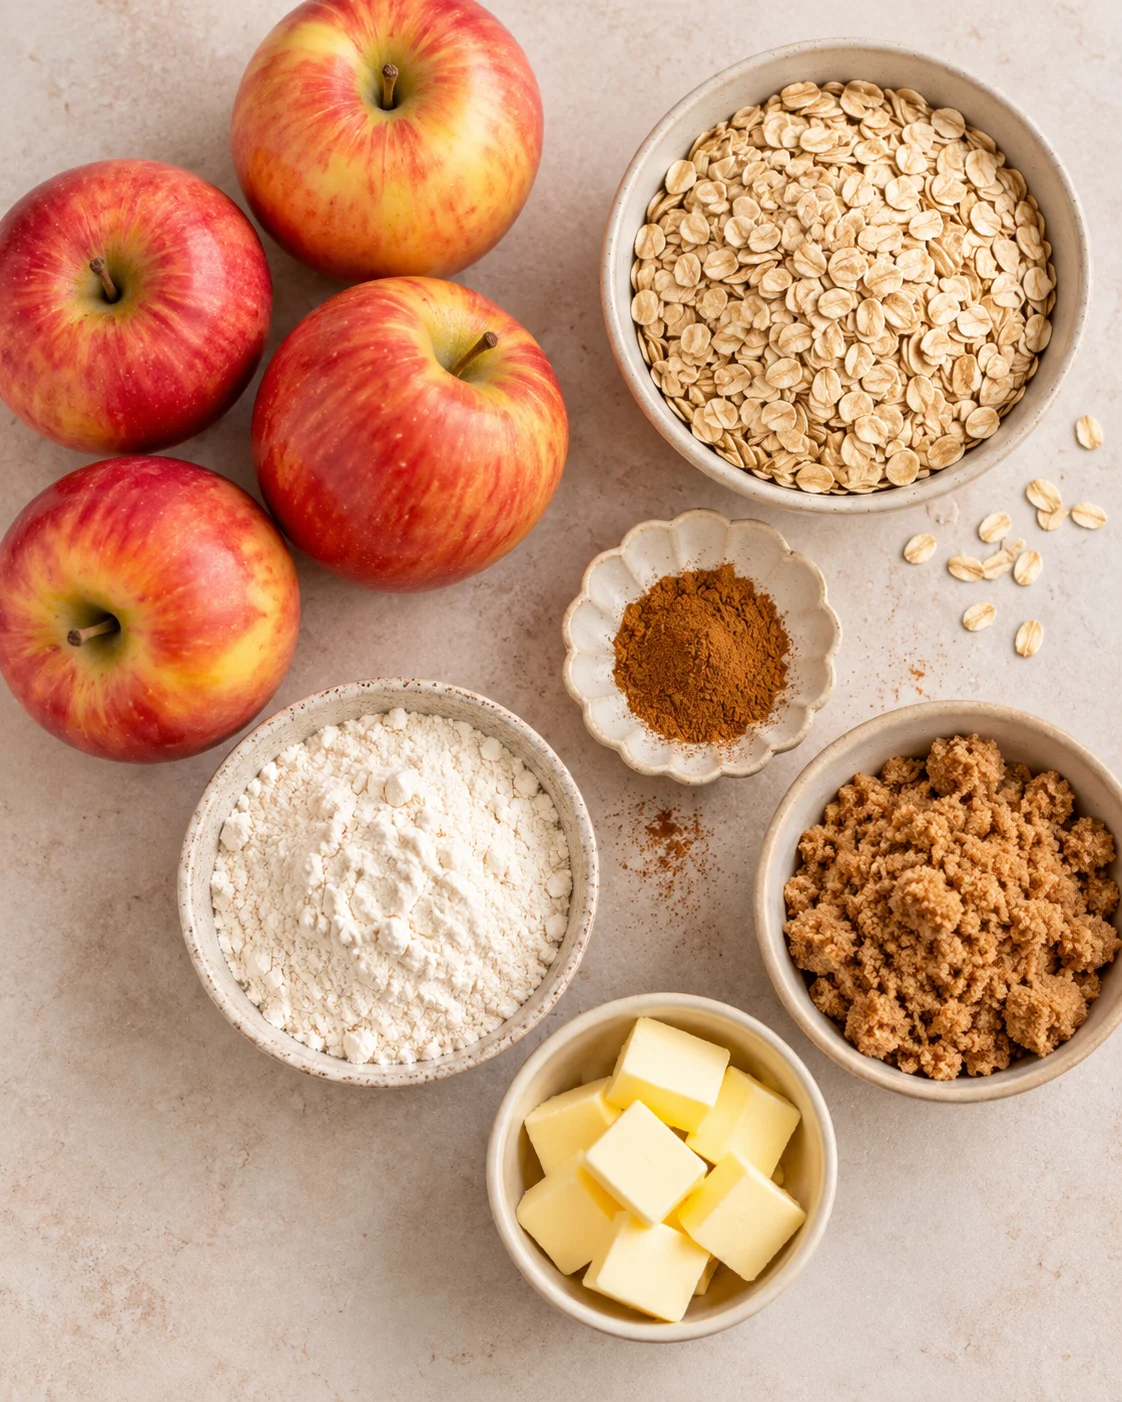
Gather the ingredients for the oat topping first, then prepare the apples. Keeping the two parts separate until the topping has cooled makes the final crumble easier to distribute over the fruit.
Oat Topping
- ½ cup old fashioned rolled oats: These are the ideal oats for the texture of this crisp. One Degree Sprouted Rolled Oats are a preferred option, although regular old-fashioned rolled oats also work well. They create a defined, hearty crumble. Do not use steel cut oats or quick oats for the same result; steel cut oats will not cook, and quick oats make the topping softer and chewier.
- ½ cup oat flour: Buy oat flour or make it at home from rolled oats in just a few minutes. Oat flour works with the oats and melted fat to create the crumble. Regular flour or gluten-free flour may be used in its place.
- ¼ cup coconut sugar: This granulated sweetener adds sweetness to the topping. Brown sugar can replace it. Maple syrup may be used, but granulated sweetener gives the topping its best texture and leaves the apples a little less watery.
- ¼ cup melted butter or vegan butter/ coconut oil: Real butter gives the crisp its classic buttery flavor. Kerrygold butter is one stated option. Vegan butter or coconut oil can be used when you want the recipe to be dairy-free or vegan.
- ½ teaspoon ground cinnamon: Cinnamon gives the oat topping its warm spice.
- 1 teaspoon vanilla extract: Vanilla rounds out the flavor of the topping.
- ¼ teaspoon sea salt: A small amount of salt helps balance the sweetness and spice.
Apple Filling
- 5 small Honeycrisp apples, peeled and sliced: This is about 2 pounds of apples, or 5 rounded cups. Honeycrisp apples are sweet-tart and work especially well in desserts. Braeburn and Pink Lady apples are also delicious and hold up well.
- 2 tablespoons coconut sugar: This coats the apples along with the spices.
- ½ teaspoon ground cinnamon: Cinnamon adds another layer of warmth to the fruit.
- ¼ teaspoon ground ginger: Ginger brings a gentle, bright spice to the apple filling.
Apple choice affects the amount of liquid in the finished crisp. Juicy apples and apples with a higher water content can make the filling look watery immediately after baking, but much of that liquid thickens and reabsorbs into the apples as the crisp cools.
How to Make Healthy Apple Crisp
Follow the sequence below so the topping has time to cool while you work on the filling. That small pause allows the melted butter to solidify enough for the topping to be crumbled over the apples.
- Preheat the oven. Set the oven to 350°F. Have an 8×8 baking dish ready for the apples and crumble.
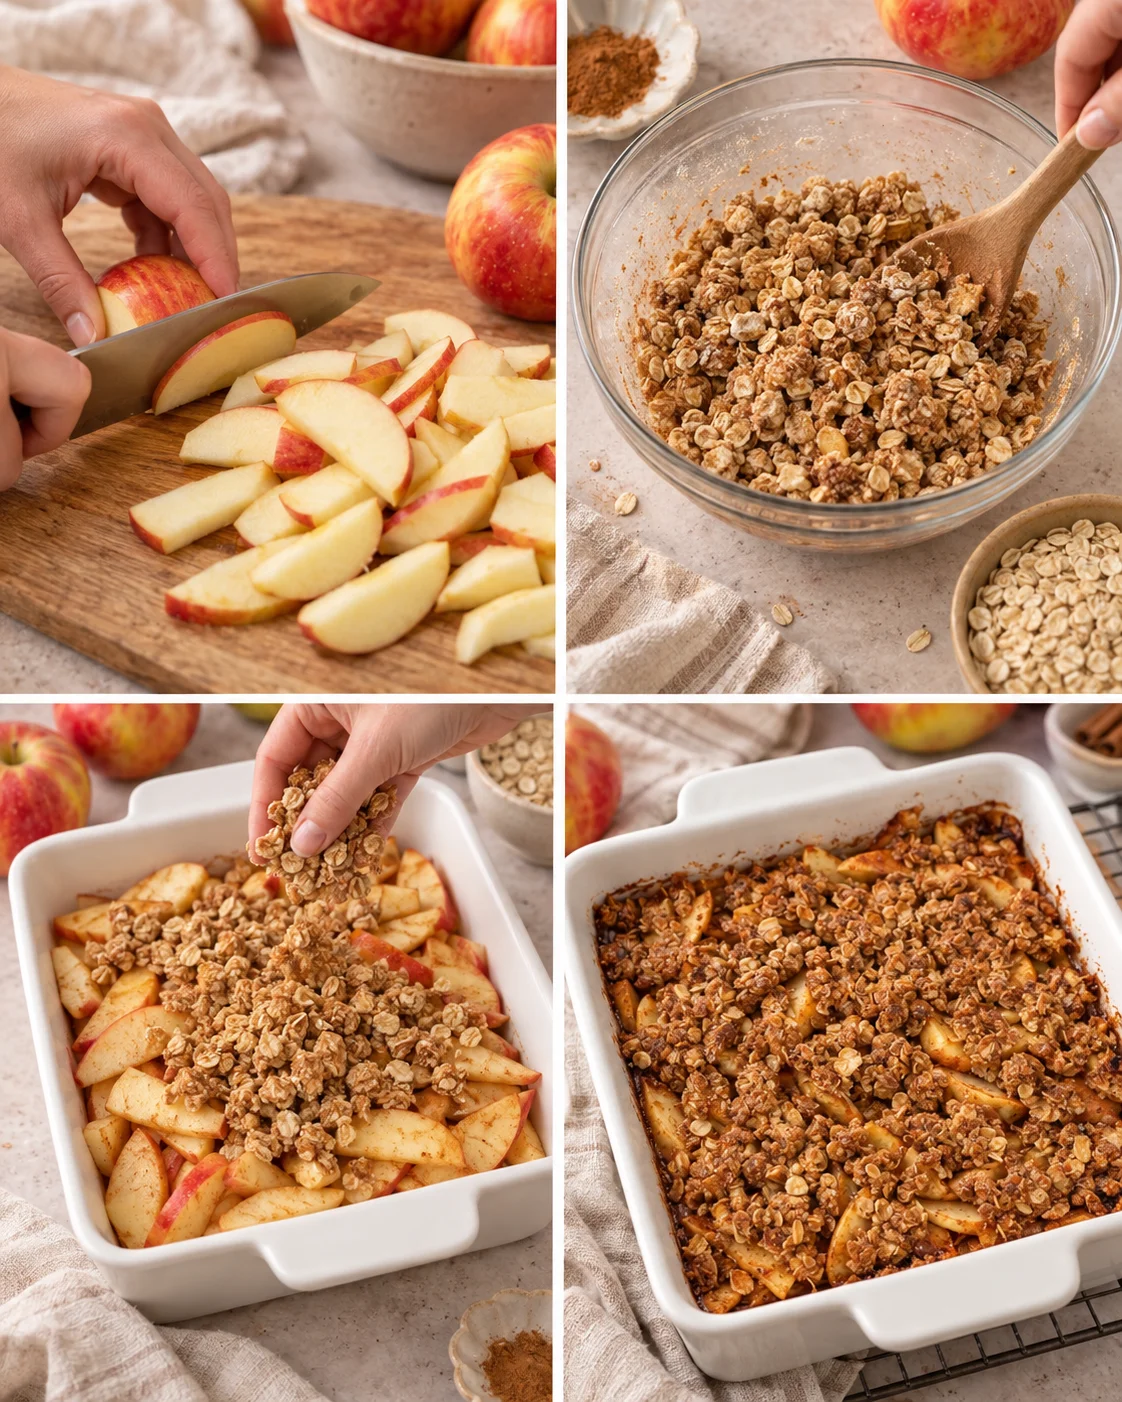
- Mix the oat topping. In a large mixing bowl or stand mixer, combine the rolled oats, oat flour, coconut sugar, melted butter or vegan butter/coconut oil, cinnamon, vanilla extract, and sea salt. Mix until there are no pockets of dry ingredients. The mixture should be evenly moistened rather than dusty or separated. Set it aside to cool while you prepare the apple filling.
- Peel and slice the apples. Peel each apple, then slice the flesh away from the core in 4 large chunks. Place the chunks flat side down and slice them into ¼-inch slices. The flat side gives you a stable surface, and slices of a consistent thickness help the apples cook down together. Put the cut apples in the 8×8 baking dish.
- Season the filling. Add the coconut sugar, ground cinnamon, and ground ginger to the apples. Stir until the slices are evenly coated in the sugar and spices. Take a moment to distribute the seasoning through the dish so the finished filling is not concentrated in just a few spots.
- Top the apples. Check the oat mixture. Once the butter has solidified enough for the mixture to crumble, grab small handfuls and crumble them evenly over the apples in the baking dish. Aim for a loose, even layer rather than pressing the topping into one solid sheet.
- Bake. Place the dish in the oven and bake at 350°F for 35–45 minutes. The listed cook time is 40 minutes, within that range, but begin checking at the shorter end if you are using a metal baking dish. The crumble should become slightly crispy, and the apples should have cooked down.
- Cool before serving. Remove the crisp from the oven and let it cool for about 15 minutes. The liquid should reabsorb into the apple mixture and become thicker during this rest. The crisp is best served warm, but waiting those few minutes makes the filling less watery and easier to portion.
Tips for the Best Healthy Apple Crisp
Mix the topping before preparing the apples
Make the oat topping first so the melted butter can cool and solidify. If you prepare the fruit first and immediately try to scatter a warm, loose topping over it, the crumble may be harder to handle. Giving it time to cool makes it possible to grab small handfuls and crumble them evenly over the apples.
Use the topping texture as a doneness cue
The baking time is a range, not a promise that every oven will finish at exactly the same moment. A metal baking dish will shorten the cook time slightly, so check it at 35 minutes if you are using metal. Poke the crisp with a finger when you check it. The topping should feel like a cookie fresh from the oven when it is done: slightly crisp on the surface with enough structure to crumble, not wet or completely soft.
Give watery apples time to settle
Apples with a higher water content can make the filling a little watery fresh out of the oven. That does not necessarily mean the crisp has failed. Let the dish cool for about 15 minutes; a lot of the water thickens and reabsorbs into the apples once cooled. The same guidance applies when using particularly juicy apples.
Slice for even cooking
Cutting the apples into ¼-inch slices keeps the pieces thin enough to cook down within the stated baking window. Slicing the flesh away from the core in 4 large chunks and placing each chunk flat side down also creates a safer, steadier way to cut the apples. Stir the slices well with the coconut sugar and spices before adding the topping.
Do not substitute the oats casually
Old-fashioned rolled oats are not an interchangeable detail here. Quick oats make the topping softer and chewier, while steel cut oats will not cook. For the intended crisp texture, stick with old-fashioned rolled oats. If gluten is a concern, use certified gluten-free rolled oats and certified gluten-free oat flour.
Variations and Substitutions
Change the flour
Oat flour can be purchased at the store or made at home from rolled oats in just a few minutes. Regular flour or gluten-free flour may be used in place of oat flour. The rolled oats should still be old-fashioned oats; changing the flour does not make steel cut or quick oats suitable for the topping.
Make it dairy-free or vegan
Replace the butter with vegan butter or coconut oil to make the crisp dairy-free. Miyoko’s is one vegan-butter option. Use the same ¼ cup quantity listed for the melted butter when making that substitution. When paired with certified gluten-free oats and oat flour, the recipe can also be prepared as a vegan, gluten-free dessert.
Choose another sweetener carefully
Brown sugar can replace the coconut sugar. Maple syrup may be used, but the granulated sweetener produces the best topping texture, and the apples are a little less watery. For that reason, coconut sugar or brown sugar is the more faithful choice when you want the stated crisp texture.
Pick a different apple
Honeycrisp is a sweet-tart apple and the preferred choice for this crisp. Braeburn and Pink Lady are also delicious and hold up well. Apples that lack tartness, including Gala, Opal, Red Delicious, and Yellow Delicious, are not recommended when you want the intended balance. Any apple will work in this recipe, so the practical distinction is between the recommended sweet-tart varieties and apples that may give you a less balanced result. Juicier apples will produce more liquid while cooking, which usually reabsorbs as the crisp cools.
Add nuts or a different fruit
For some healthy fats and crunchy texture, add chopped pecans, walnuts, or slivered almonds. You can also add ¼ teaspoon of nutmeg, or substitute all the spices in this recipe for apple pie spice. Another fruit option is to replace one cup of apples with a rounded cup of raspberries, blueberries, or cherries. Keep the remaining apple mixture and topping as written so the original structure of the dessert stays intact.
Storage, Make-Ahead, and Freezing
Storing leftovers
Cover the healthy apple crisp and store it in the refrigerator for up to 5 days. Leftovers can be enjoyed cold, or they can be reheated in the microwave or oven. The crisp is at its best right out of the oven and warm, so reheating is most useful when you want to bring a refrigerated portion closer to that serving temperature.
Reheating for a crisper topping
The toaster oven or oven is the recommended way to reheat leftovers. The microwave will work, but it will make the oats and topping soggy rather than crisp. Choose the oven-based option when the texture of the crumble matters most, and let a reheated portion stand briefly before serving if it is too hot to eat comfortably.
Preparing it ahead
You can prepare this apple crisp ahead of time. Assemble the recipe according to the instructions, cover it, and store it in the refrigerator until you are ready to bake, for up to 24 hours. The recipe can also be prepared 3–4 hours before baking and kept refrigerated, which makes it useful for a Thanksgiving meal or another gathering where you want to do the assembly earlier in the day.
Freezing
Freezing has not been tried for this recipe, and it is not recommended because the topping would lose its crispness. Refrigerating the assembled dish for the make-ahead window, or covering baked leftovers in the refrigerator for up to 5 days, keeps the preparation within the stated storage guidance.
Serving Suggestions
Serve the crisp warm after its approximately 15-minute cooling period, once the apple liquid has thickened. Vanilla ice cream or whipped cream makes a classic pairing. For another option, add a scoop of vanilla Greek yogurt; it provides extra protein alongside the dessert.
This apple crisp is especially suited to fall meals and apple-picking season. Since it can be assembled several hours before baking and held in the refrigerator, it is also a convenient dessert for Thanksgiving. Bring it to the table warm, with the topping visible and the fruit soft underneath.
Frequently Asked Questions
What are the best apples for this healthy apple crisp recipe with oats?
Honeycrisp apples are the preferred choice because they are a little sweet and a little tart, which suits desserts well. Braeburn and Pink Lady apples are also delicious and hold up well. Any apple will work, but apples without much tartness, such as Gala, Opal, Red Delicious, or Yellow Delicious, are not recommended when you want the intended sweet-tart balance.
Why are my apples watery?
The apples may have a higher water content, especially if they are particularly juicy. The filling can look watery when it first comes out of the oven, but much of the liquid thickens and reabsorbs into the apples as the crisp cools. Let it stand for about 15 minutes before serving rather than cutting into it immediately.
Can I use quick oats or steel cut oats?
Use old-fashioned rolled oats for the intended topping texture. Quick oats make the crumble softer and chewier, and steel cut oats will not cook. Regular rolled oats work well, and certified gluten-free rolled oats can be used when you need the recipe to remain gluten-free.
Can I make this apple crisp vegan?
Yes. Use vegan butter or coconut oil in place of the butter. Miyoko’s is one vegan-butter option. The recipe can also be gluten-free when prepared with certified gluten-free oats and oat flour.
Can I assemble the crisp before I bake it?
Yes. Prepare the apple crisp as directed, cover it, and refrigerate it until ready to bake, for up to 24 hours. A 3–4 hour make-ahead window is also specifically suggested, making this a useful option for preparing dessert before a Thanksgiving meal.
How should I reheat leftover apple crisp?
Reheat it in a toaster oven or oven when you want to preserve more of the topping’s crisp texture. The microwave also works, but it will make the oats and topping soggy. The baked crisp can be covered and refrigerated for up to 5 days, or enjoyed cold.
Nutrition Information
One serving is listed as 0.75 cup apples plus crisp topping. Each serving provides 250 kcal, 42 g carbohydrates, 3 g protein, and 9 g fat. It includes 5 g saturated fat, 1 g polyunsaturated fat, 2 g monounsaturated fat, and 0.3 g trans fat.
The listed nutrition also includes 20 mg cholesterol, 183 mg sodium, 227 mg potassium, 5 g fiber, 23 g sugar, 318 IU vitamin A, 7 mg vitamin C, 21 mg calcium, and 1 mg iron.
Course: Dessert
Cuisine: American